
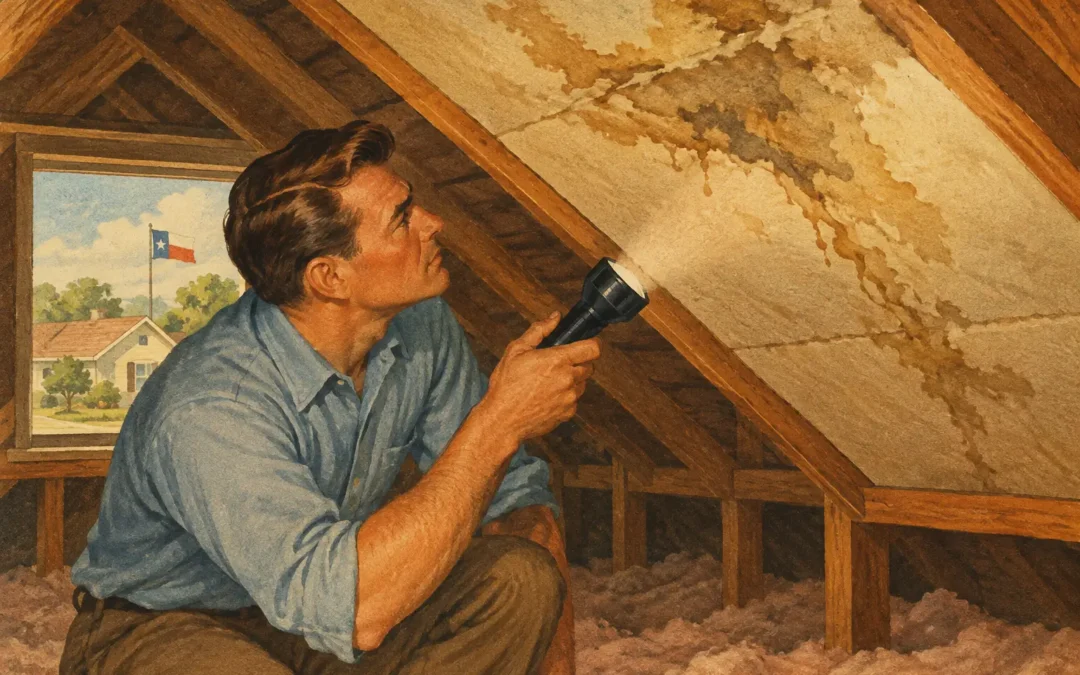
A brown ring on the ceiling can feel alarming. Yet the visible mark is often not the leak’s exact location. Water can travel along roof decking, rafters, pipes, or insulation before it appears overhead.
Knowing how to inspect attic leak stains helps you collect useful details before a repair visit. It can also help you separate an active roof issue from an older, dry stain. In North Texas, this matters after hail, wind-driven rain, and sudden heavy storms.
Do not step onto questionable framing or wet attic surfaces. A careful visual inspection is useful. A roof-level diagnosis should come from an experienced professional.
Start With Safety and Timing
Inspect during daylight, preferably after a recent rain. Fresh moisture is easier to find than a stain that dried weeks ago. If rain is falling, do not enter an attic with standing water, exposed wiring, or active dripping near electrical fixtures.
Wear closed-toe shoes, gloves, and a dust mask. Take a bright flashlight and your phone. The phone is useful for photos and notes. A small piece of painter’s tape can mark areas worth revisiting.
Use the attic access opening carefully. Step only on ceiling joists or installed walk boards. Never put your weight on insulation or drywall. One misstep can damage the ceiling below or cause an injury.
If your attic is unusually hot, wait for cooler morning hours. Texas attics can hold dangerous heat long after the afternoon sun passes.
Find the Ceiling Stain From Above
Start inside the living space. Look closely at the ceiling stain’s shape, color, and location. A fresh stain may feel cool, soft, or slightly damp. Older stains often look yellow, tan, or brown with defined edges.
Then enter the attic and locate the area above that room. Measurements help. Note the stain’s distance from an exterior wall, a light fixture, or a hallway. Those reference points make the attic search much faster.
Do not assume the stain sits directly beneath the roof leak. Water commonly follows the underside of roof decking. It may run along a rafter. It can also collect near an insulation low point before soaking the ceiling drywall.
Check the roof decking first
Shine your flashlight across the underside of the roof decking. Look for darker wood, water trails, swelling, peeling plywood layers, or a glossy wet appearance. On a dry day, active moisture may show as a darker patch or a faint white mineral line.
Pay close attention around penetrations. These are places where something passes through the roof, such as plumbing vents, bathroom exhaust vents, furnace flues, skylights, and attic-mounted equipment lines. Flashing failures near these areas are common leak sources.
Also inspect roof valleys and changes in roof direction. These areas handle concentrated water flow. Wind-driven rain can expose small weaknesses around valley materials and nearby flashing.
Look at rafters and framing
Rafters can reveal water movement. Streaking, dark lines, or dirty-looking edges may show where water traveled. Follow the trail upward and outward toward its highest visible point.
A stain on one rafter does not prove the roof failed directly above it. Condensation can also form on colder surfaces. That is why the pattern matters.
Roof leaks often leave a localized trail after storms. Condensation tends to appear more broadly. It may affect multiple roof areas or metal ductwork. If the issue is widespread, ventilation or indoor humidity may be part of the problem.
Check Insulation for Hidden Moisture
Insulation often holds clues that wood surfaces miss. Pull it back gently near the suspected location. Look for flattened, matted, darker, or crusty sections. Wet insulation loses its ability to resist heat flow. It can also hide damp drywall for a long time.
Do not compress large areas of insulation. Move only enough to inspect the ceiling surface below. If insulation is wet, photograph it and leave it exposed for a roofing professional to evaluate. Some materials may need replacement after the leak source is repaired.
Be especially watchful around attic hatches, recessed lights, and bath fan ductwork. These areas can develop moisture issues without a roof leak. A disconnected or poorly routed bathroom exhaust duct can send warm, humid air into the attic. That moisture may mimic roof damage.
Separate a Roof Leak From Condensation or Plumbing
The source determines the repair. A roof leak, plumbing leak, and condensation problem can all stain drywall. Their clues are different.
A roof leak often worsens after rain or hailstorms. You may see a trail that leads toward roof decking, flashing, a valley, or a roof penetration. The stain may appear after wind pushes rain beneath damaged shingles or loose flashing.
A plumbing leak may stay wet during dry weather. It is often located near bathrooms, kitchens, or laundry areas. Check for pipes, drain lines, or HVAC equipment above the affected ceiling. Never disturb a pipe fitting if you see active dripping.
Condensation often appears near ducts, exhaust vents, or poorly ventilated attic spaces. It may be worse during sharp temperature changes. In North Texas, cool nights after warm, humid days can make these patterns more noticeable.
The difference is not always obvious. A professional inspection can trace the moisture pattern without guessing or causing more damage.
Document What You Find
Clear documentation makes repair discussions easier. It can also help if you decide to contact your insurance company about storm-related damage. Keep descriptions factual. Avoid assuming the cause before the roof is inspected.
Take photos of the indoor stain first. Then photograph the attic area from wide and close angles. Include nearby landmarks, such as a vent pipe or rafter. Capture any wet insulation, damaged decking, exposed nails, or visible daylight.
For a helpful record, note these details:
- The date you first noticed the stain
- Recent rain, wind, hail, or storm conditions
- Whether the stain feels damp or has grown
- The room and exact ceiling location
- Any dripping, odors, or electrical concerns
If the stain changes after each storm, compare photos. Growth matters more than color alone. A dark old stain may be dry. A faint new ring may signal an active issue.
What Not to Do in the Attic
Do not poke through stained drywall from below. It can release trapped water suddenly and create a larger repair area. If the ceiling is sagging, keep people away from that room and call for help promptly.
Do not apply roof cement or caulk from inside the attic. The visible wet spot is rarely the true entry point. Interior patching can trap moisture and delay a proper repair.
Avoid walking on the roof to investigate after a storm. Wet shingles are slippery. Hail damage can also be subtle and unsafe to diagnose without the right footing and experience.
Finally, do not ignore mildew odors. Persistent moisture can affect insulation, wood, and indoor comfort. Early repairs are usually simpler than repairs made after repeated storms.
When to Call a Local Roofing Professional
Call for a professional roof inspection when you find active moisture, wet insulation, soft decking, missing shingles visible from the ground, or a ceiling stain that grows after rain. You should also call if the stain appeared following a hail or high-wind event.
A thorough inspection should look beyond the stain. The roofer should evaluate shingles, flashing, valleys, penetrations, ventilation, and surrounding roof areas. The goal is to identify the source, explain the findings plainly, and recommend only the work your roof needs.
For homeowners in Mansfield, Midlothian, Waxahachie, and nearby communities, Accent Roofing has served North Texas with honesty and integrity since 1980. A clear estimate and documented findings can replace uncertainty with a practical repair plan.
A ceiling stain is your home asking for attention. Take photos, stay safe, and have the cause checked before the next hard rain turns a small concern into damaged insulation, drywall, or framing.