
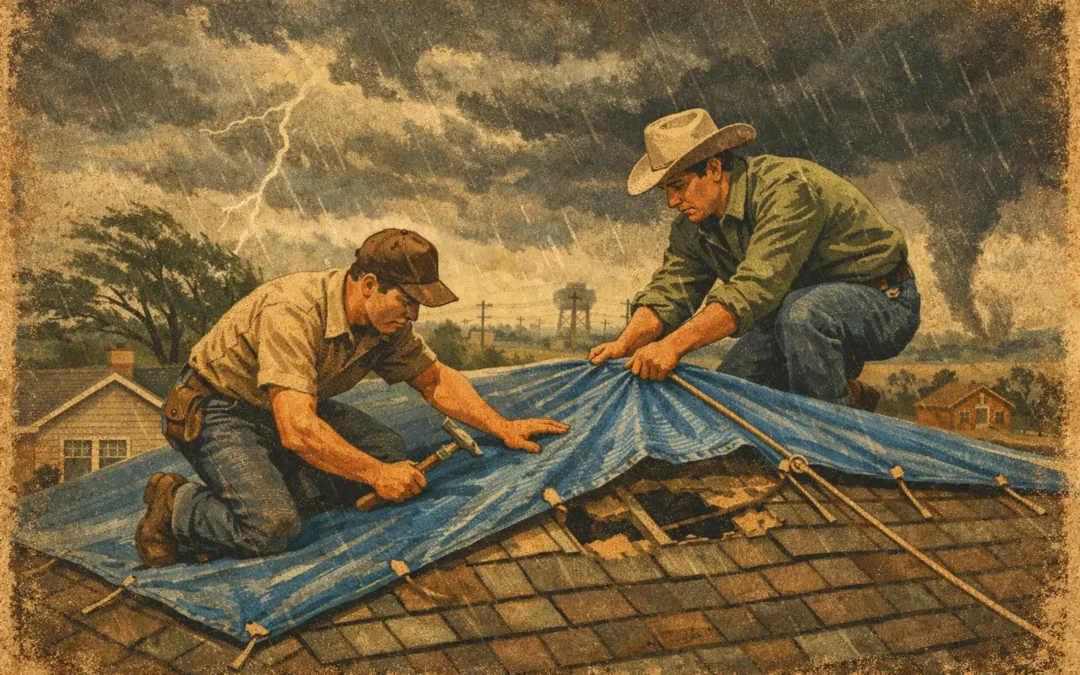
A roof leak after a North Texas storm can turn urgent fast. Water may drip through a light fixture, stain a ceiling, or spread across insulation before morning. These emergency roof tarp instructions can help limit further damage, but safety comes first. A tarp is a short-term measure, not a roof repair.
After hail, high winds, or heavy rain, many homeowners feel pressure to climb up immediately. That is rarely the right first move. Wet shingles are slick. Gusts can return without warning. Damaged decking may not support weight. If conditions are unsafe, protect the interior, document what you see, and call a qualified local roofer.
Start Inside Before You Go Near the Roof
Your first job is protecting people and belongings. Move furniture, electronics, and rugs away from the leak. Place buckets under active drips. If water is near a ceiling light, outlet, or electrical panel, avoid the area and use caution. Contact an electrician if you suspect water reached wiring.
If the ceiling is bulging, it may be holding trapped water. Keep people away from that room. Do not puncture a sagging ceiling unless you understand the risks and have safely addressed nearby electricity. A ceiling can release more water than expected.
Take clear photos and short videos before moving damaged items. Capture water stains, fallen shingles, interior leaks, and any visible exterior damage from the ground. This record can help your contractor assess the situation. It can also support your discussion with your insurance carrier.
When Emergency Roof Tarp Instructions Apply
A tarp is useful when roof damage has created an opening that allows water inside. Common examples include missing shingles, exposed roof decking, a branch impact, lifted flashing, or a puncture from windblown debris.
Not every leak needs a tarp. A small stain after a storm may come from flashing, a vent boot, or a slow roof penetration leak. Covering the wrong area may not stop the water. It can also hide the source from the person inspecting it.
A temporary tarp is most appropriate when all of these conditions are true:
- Rain has stopped, and the roof surface is dry.
- There is no lightning or high-wind warning.
- The damaged area is reachable without unsafe climbing.
- You have proper equipment and another adult present.
- The roof deck does not appear soft, broken, or unstable.
If any condition is not met, do not attempt the work. A professional emergency response is the safer choice.
Gather the Right Materials
Use a heavy-duty woven polyethylene tarp. Choose one large enough to cover the damage and extend well beyond it. For most roof openings, the tarp should reach at least 4 feet past the damaged area on every practical side. Water can travel beneath shingles, so a small patch often fails.
You will also need clean 2-by-4 boards, corrosion-resistant screws, a drill, work gloves, non-slip shoes, a ladder rated for the job, and a utility knife. Avoid using bricks, loose rocks, or sandbags on a sloped roof. They can slide, damage shingles, or injure someone below.
Never nail directly through the middle of a tarp where water will collect. Each hole can become another leak. The goal is to secure the tarp at its edges while directing water down the roof and away from the opening.
How to Secure a Roof Tarp Safely
Work only in calm, dry daylight. Have one person steady the ladder while the other climbs. Keep three points of contact on the ladder. Do not stand on the top rungs or step from a ladder onto a steep roof without proper safety equipment.
Cover More Than the Visible Damage
Identify the damaged section from the ground when possible. Then place the tarp so its upper edge extends above the damaged area. Ideally, run the tarp over the roof ridge and down the opposite slope. This helps prevent water from driving under the top edge during a hard Texas rain.
If the tarp cannot reach the ridge, extend it as high as possible above the damage. The upper portion matters most. Water flows downhill, but wind can push rain uphill under loose material.
Roll the Tarp Edges Around Boards
Lay a 2-by-4 across the tarp’s top edge. Roll the tarp around the board two or three times. Secure that board into solid roof decking with screws. Do not rely on damaged, soft, or missing decking.
Repeat this process along the lower edge. The lower board keeps the tarp pulled tight and gives water a clean route off the roof. Secure the side edges only as needed. Too many fasteners create unnecessary openings.
Keep the tarp smooth. Avoid folds or low spots where rain can pool. A pooled tarp can tear, shift, or place extra stress on damaged roofing materials.
Protect the Roof Without Creating New Problems
Do not pull the tarp so tightly that it tears. Do not cover plumbing vents or combustion appliance exhausts. Never block a furnace, water heater, or fireplace vent. If the roof damage is near a vent, skylight, chimney, or solar equipment, stop and request professional help.
Avoid walking across brittle shingles. North Texas heat can age asphalt shingles quickly. After a hailstorm, those shingles may be weakened even when damage is hard to see. Every unnecessary footstep can cause additional granule loss or cracking.
Common Tarping Mistakes to Avoid
The biggest mistake is working during unsafe weather. Storm cells can produce sudden wind shifts, lightning, and slick conditions. Waiting may feel frustrating. A fall can cause far greater harm than the leak itself.
Another frequent mistake is covering only the hole. Rainwater often enters above the visible opening, then travels along decking or framing. A tarp needs enough coverage to shed water before it reaches the damaged section.
Homeowners also sometimes use duct tape, staples, or a lightweight plastic sheet. These materials rarely survive wind. Staples add many holes. Lightweight plastic flaps, tears, and can trap water against shingles.
Finally, do not assume a tarp proves the problem is solved. Check the interior during the next rain, but do not repeatedly climb onto the roof. A tarp needs a professional follow-up inspection and a permanent repair plan.
North Texas Storm Conditions Change the Decision
In Mansfield, Arlington, Midlothian, Waxahachie, and nearby communities, roof damage often follows hail, straight-line winds, or fast-moving thunderstorms. These events can damage shingles, ridge caps, vents, gutters, and flashing at the same time.
A roof may look mostly intact from the yard. Hail impacts can loosen granules and bruise shingles without leaving an obvious hole. Wind can also lift shingle seals, creating openings that leak only during certain wind directions.
That is why a post-storm inspection matters. A trustworthy contractor should explain what they found, show you the affected areas when possible, and separate urgent temporary protection from recommended permanent work. Be cautious with anyone who pressures you to sign immediately after a storm.
Document Damage and Plan the Next Step
Keep a simple record of the storm date, active leaks, temporary measures, and photos. Save receipts for reasonable emergency materials or mitigation work. Then contact your insurance carrier to report the damage and ask about its claim process. Your policy, deductible, and coverage details control what may apply.
A qualified roofing contractor can inspect the roof, identify storm-related concerns, and provide a clear estimate for repairs or replacement. They can also help document visible damage for your records. No contractor should promise a claim outcome or suggest avoiding your deductible.
Accent Roofing has served North Texas homeowners with honesty and integrity since 1980. For a roof that has been tarped after a storm, the next helpful step is a careful inspection and straightforward advice. A safe temporary cover buys time. A dependable local repair plan protects your home for the seasons ahead.